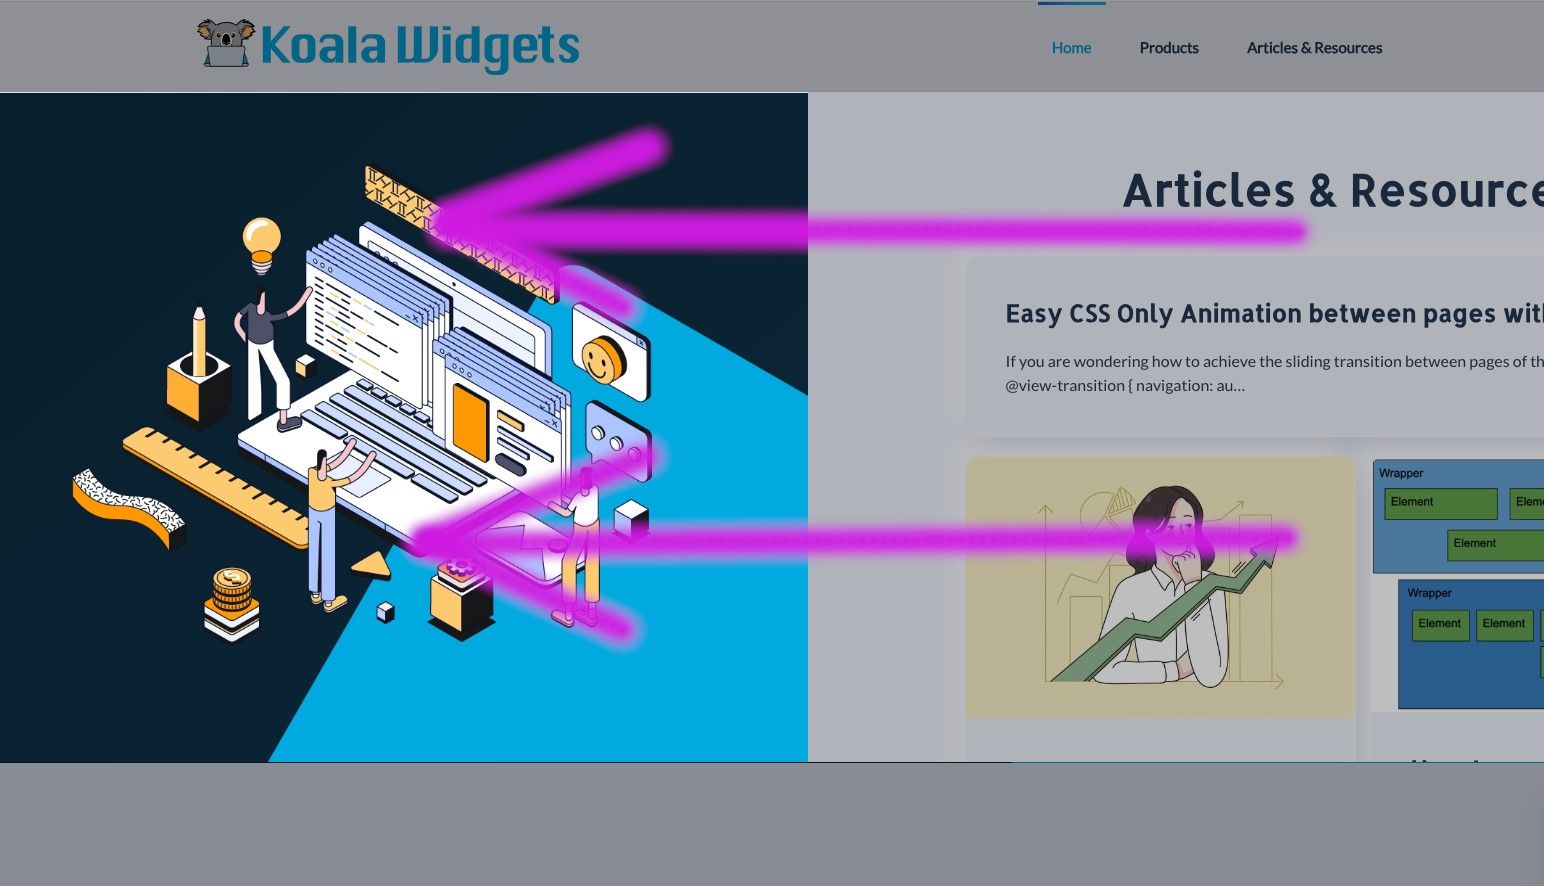
Easy CSS Only Animation between pages with @view-transition
If you are wondering how to achieve the sliding transition between pages of this website, here’s the code to do so:
1 2 3 4 5 6 7 8 9 10 11 12 13 14 15 16 17 18 19 20 21 22 23 24 25 26 27 28 29 30 31 32 33 | /* Create a custom animation between pages */ @view-transition { navigation: auto; } @keyframes move-out { from { transform: translateX(0%); } to { transform: translateX(-100%); } } @keyframes move-in { from { transform: translateX(100%); } to { transform: translateX(0%); } } ::view-transition-old(root) { animation: 0.4s ease-in both move-out; } ::view-transition-new(root) { animation: 0.4s ease-in both move-in; } header.tm-header .uk-navbar-container{ view-transition-name: header-transition; } |
The code above has 2 parts, the sliding effect and the header (desktop only) that doesn’t move.
The sliding effect between pages
The sliding effect is achieved using the code from line 2 to 29. You can copy this code to your website and you will obtain exactly the same effect.

The header remains static
I’ve assigned a unique view-transition-name to the header, to exclude it from the sliding transition.
That way, it looks like the header remains static while the rest of the content slides in.
This is achieved in lines 31 to 33 from the code above.
Documentation
You can find more info about @view-transition here and view-transition-name here.
